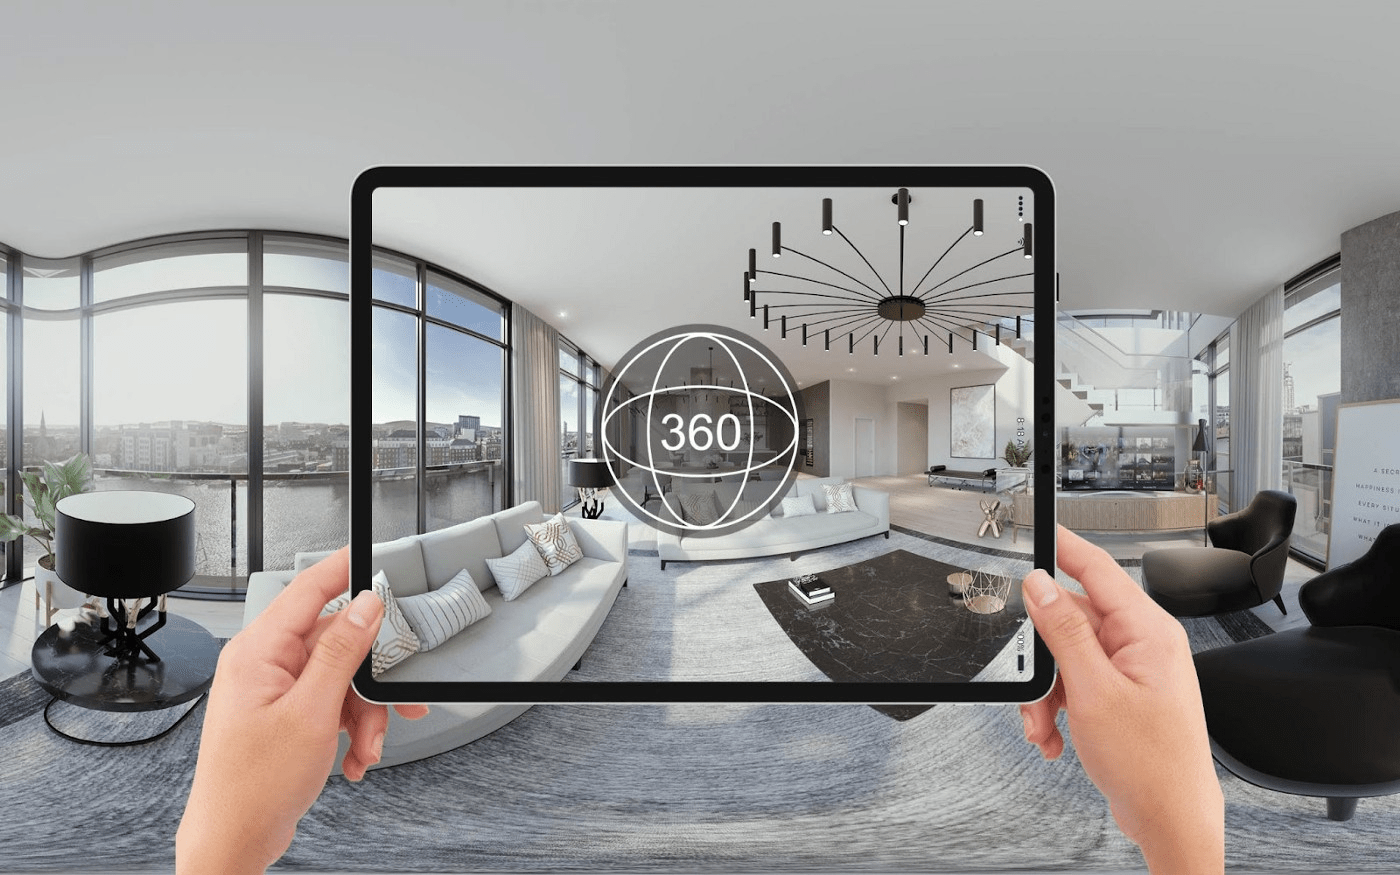
The way we present spaces can be transformed by creating 360 degree virtual tours. These experiences are immersive, allowing viewers to look at the environment from all angles and increasing their engagement and interest. For any real estate agent, hotel owner, or even marketer, this is an important skill that makes one the best in the field of digital marketing.
In this blog post, you’ll learn how to create amazing 360-degree virtual tours in simple steps. Here we go into the world of 360 virtual tours, where we will learn how interactive experiences are crafted.
Essential Equipment for 360 Virtual Tours
To have high-quality and immersive experiences, there’s a need for the right equipment when making a 360-degree virtual tour. The following is a list of gear you would require when starting off:
360 Camera
Buy a good-quality 360-degree camera. Some popular options include Ricoh Theta Z1, Insta360 ONE X2, and GoPro Max. They capture photographs as well as videos on a spherical basis, enabling them to be viewed without any breaks.
Tripod and monopod
Get clear but steady images by using a tripod or monopod specifically made for use with 360 cameras. It should have features such as adjustable height and ease of carrying.
Panoramic Head
This ensures your camera turns at the correct point, thereby avoiding parallax errors. It is an essential tool for smoothly stitching together photos.
Remote Shutter Release
Reduce tremors by using an external shutter release. This device will allow you to take a photograph without even touching the camera, which results in sharper pictures.
Photo Editing Software
Programs like Adobe Photoshop or Lightroom are indispensable for post-production retouching of images. Enhance colors, regulate brightness, and eliminate blotches to make your journey visually appealing.
Stitching Software
You can use software such as PTGui or Kolor Autopano to merge your 360-degree photographs together. These apps smooth out and blend shots seamlessly so that you have an overall virtual tour.
Virtual Tour Software
Some of them include Matterport, Kuula, and Pano2VR. With these software applications, users can add interactive features such as hotspots, navigation menus, and informative pop-ups.
By having these essential tools at hand, you can make professional-looking 360-degree virtual tours that will capture your audiences’ attention and hold their interest.
Step-by-Step Guide to Creating 360 Virtual Tours
Creating 360 degree virtual tours are made up of several steps, ranging from planning and capturing images to editing and publishing. For more information on how to create stunning and immersive virtual tours, follow this guide.
Plan your tour
What’s the purpose of the virtual tour? Do we want to take our visitors through a real estate property, perhaps an art gallery, or even a retail store? What you are aiming to achieve will shape your plan and action.
Give details of the main zones as well as aspects that should be photographed. It helps you ensure every important part of a room is covered during shooting—a shot list can also be helpful in organization.
Set up your equipment
Be sure that your 360-degree camera is fully charged with enough storage space. Determine optimal resolution settings and exposure adjustments for different lighting conditions.
Mount your camera on a tripod or monopod. Put it at eye level for a natural perspective. Be sure not to do this without using the panorama head, so you don’t make parallax errors.
Capture 360-Degree Images
Place the camera in the center of each room or area. Ensure that surrounding areas are free of clutter and well-lit.
To reduce blur, use the remote shutter release to minimize shaking when taking pictures. Shot from various angles if necessary to cover all sides properly.
Edit and stitch images
Backup your photos and sort them according to the shot list. In software like Adobe Photoshop or Lightroom, perfect the images. Do color correction, brightening, or erasing the defects.
Stitch your images into a 360-degree panorama with stitching software like PTGui or Kolor Autopano. Make sure all the seams are matching up; smooth out transition areas.
Build the Virtual Tour
Choose a platform such as Matterport, Kuula, or Pano2VR for creating your tour. Go to the import page, and your stitched panoramas will appear. Arrange them according to the shot list.
Provide additional value by adding interactive features (e.g., hotspots, navigation menus, or informational pop-ups) to the tour. These kinds of things add to a better experience for viewers. Test the Things That Will Work to Check That All Elements Are in Order.
Publish and share your tour
After this, create your virtual tour, and when you are happy with the result, export it. Make sure the format can be opened on all devices and platforms.
Integrate the tour into your webpage, social channels, or any other digital site. Then share it with your audience (because if no one sees what you create, there is not much of a point in creating anything to begin with).
Conclusion
This guide will let you create high-quality, compelling virtual tours that spark people’s curiosity and improve your online presence. Follow these steps to perfect the process and ensure your spaces look their best when battling against all of the other available properties.